
Plugin Boutique authorises your VPS Avenger 2 plugin access each month by contacting the Vengeance Sound servers every few days to confirm that your plan is active before allowing you to run the plugin.
When you start a Rent to Own plan for VPS Avenger 2, you will get a serial as normal, which you will need to enter into the V-Manager app.
Please see below for the steps to activate and install VPS Avenger 2:
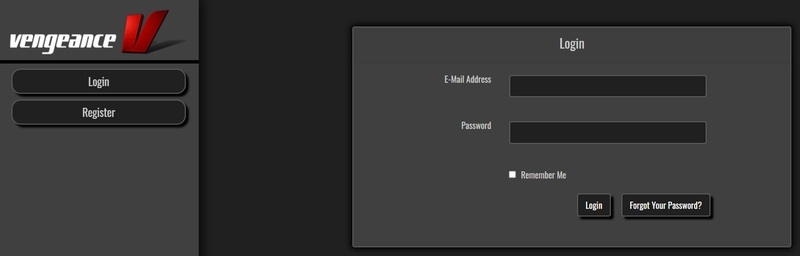
1. Go to https://register.vps-avenger.com/login > Click Register (or login to your account and skip to step 3).
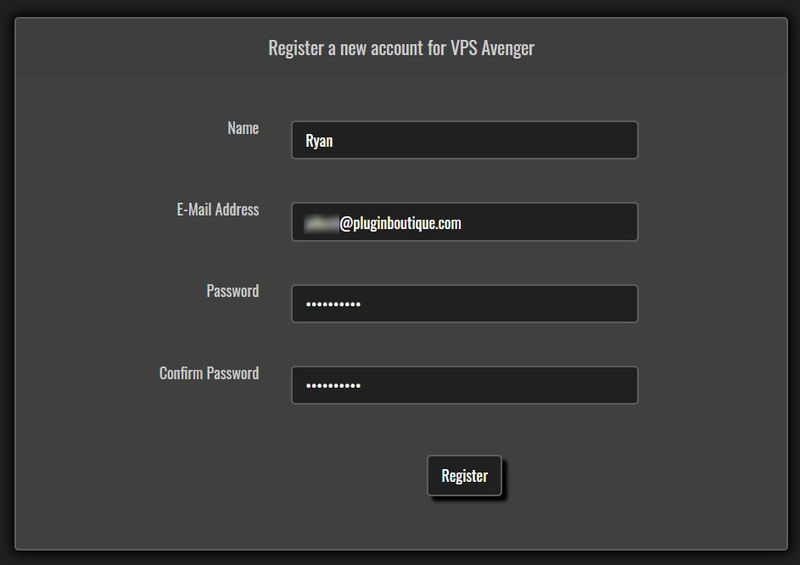
2. Enter your details and click 'Register' to create an account.
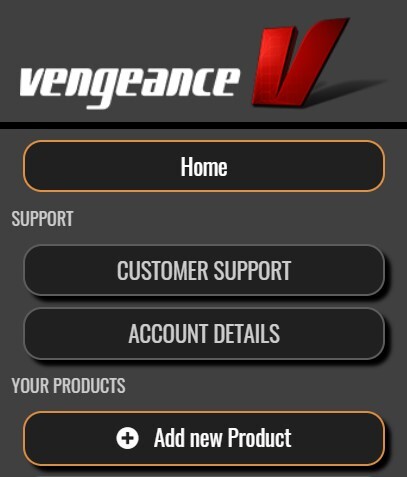
3. You have now created a Vengeance Sounds account > Click '+ Add New Product' on the left side of the page.
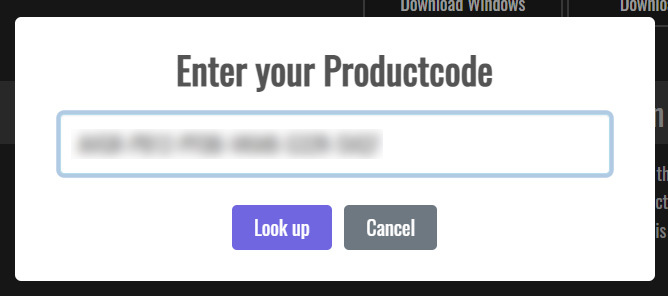
4. Copy and paste the serial number from your Plugin Boutique account > Click 'Look up'.
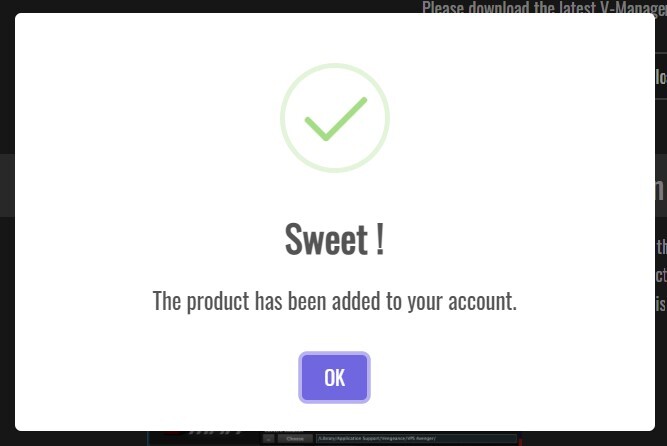
5. Your license has now been added to your Vengeance Sounds account > Click 'OK'.
Mac Installation
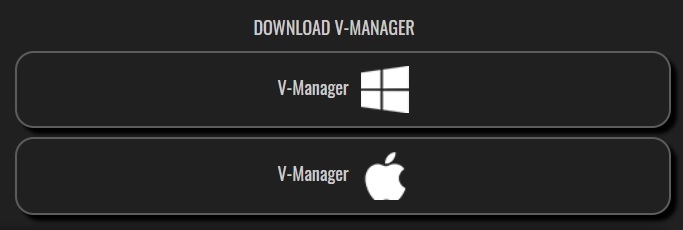
1. Go back to https://register.vps-avenger.com/details > Download the V-Manager installer.
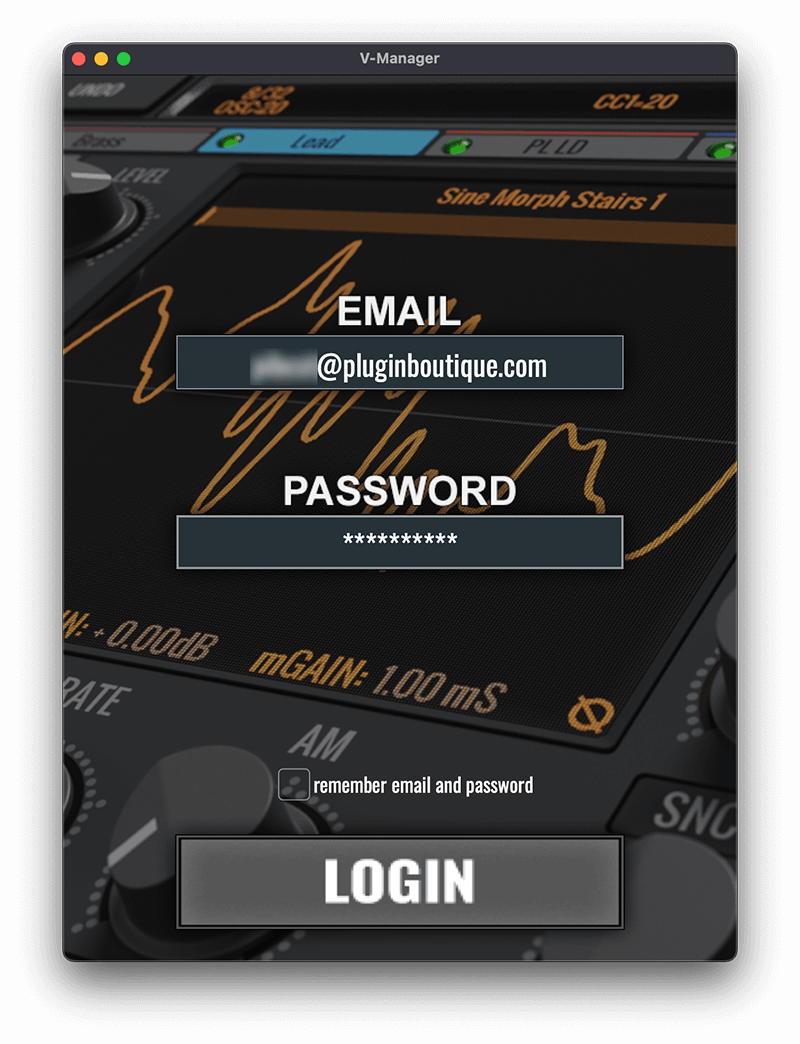
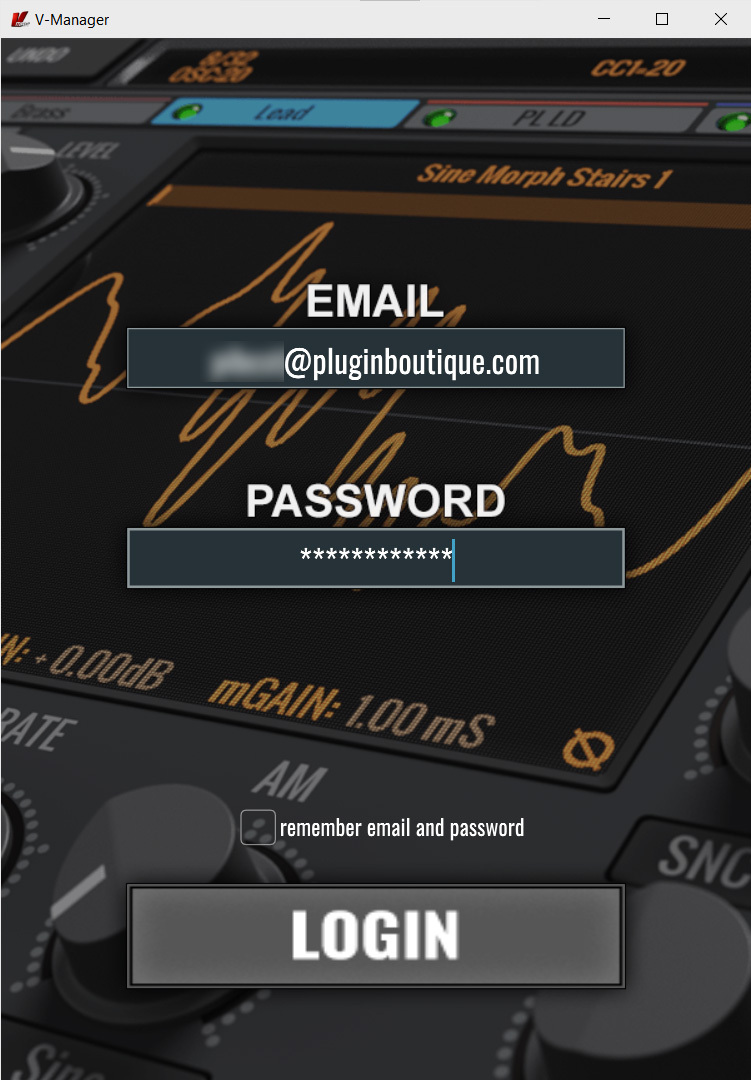
2. Open the V-Manager installer once it has downloaded > Enter your email and password > Click 'Login'.
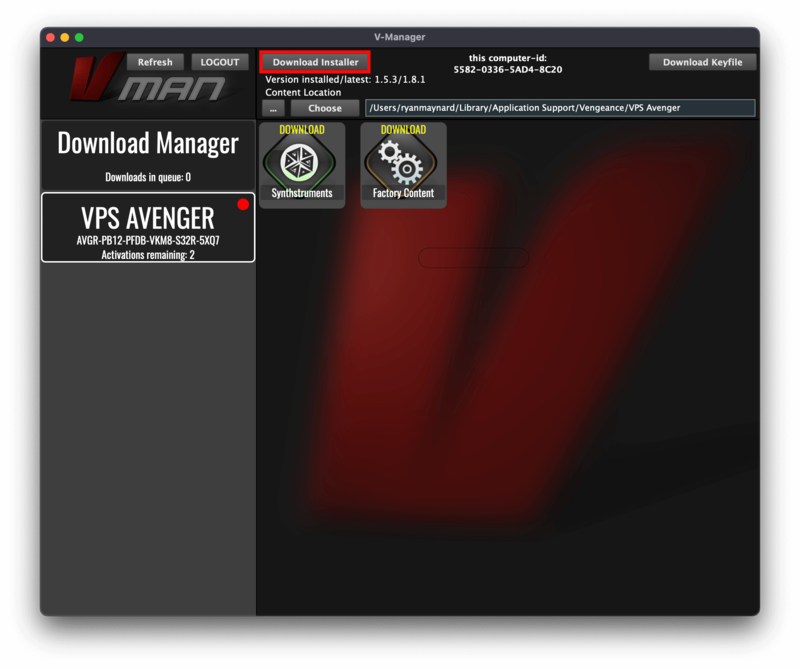
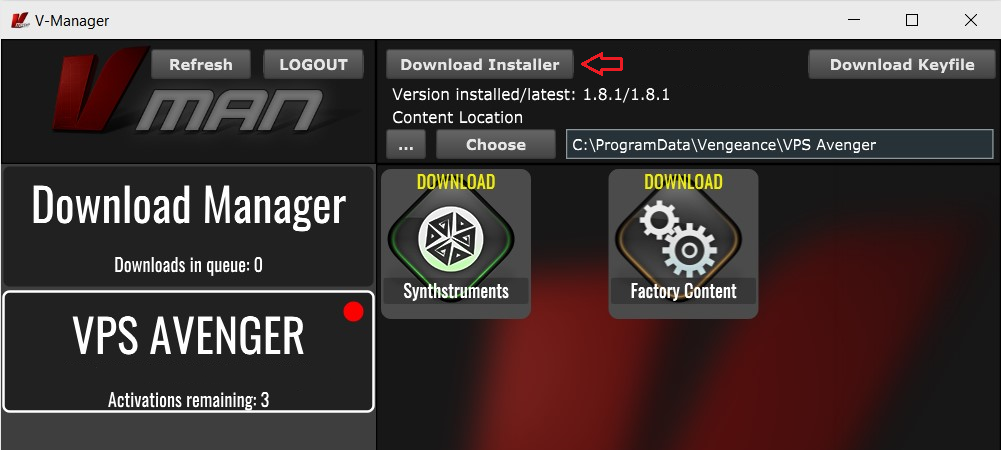
3. Click 'Download Factory Content' (this may take a while to download as it’s a large file).
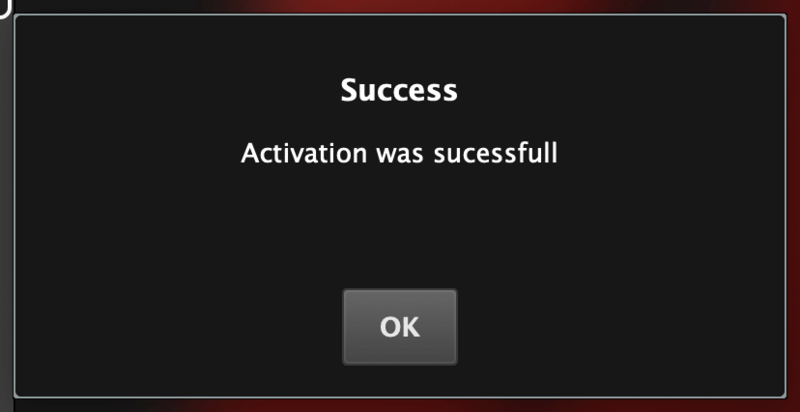
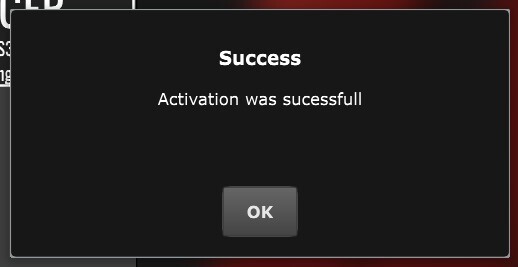
4. Whilst the Factory Content is downloading, click ‘Download Keyfile’ > VPS Avenger is now activated.
5. Once the Factory Content has been downloaded, click ‘Download Installer’ at the top of the window.
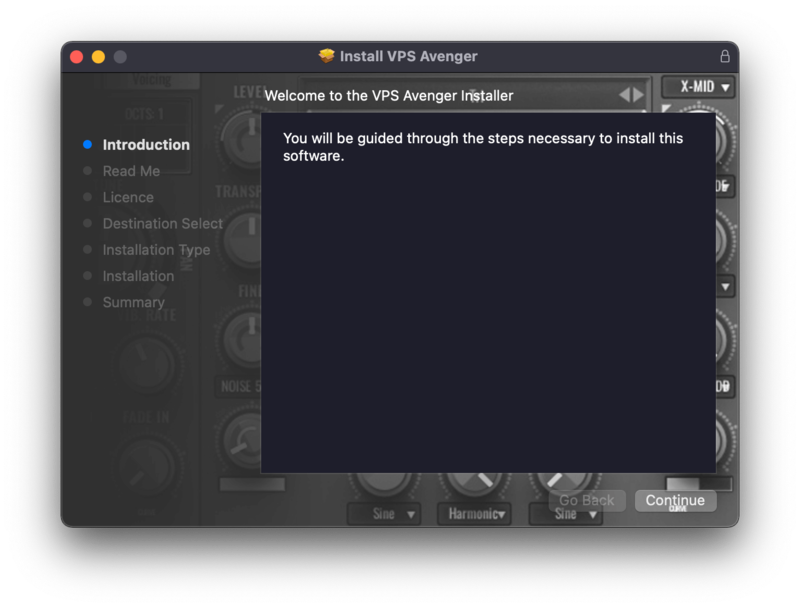
6. Click ‘Yes’ to run the installer now > Click ‘Continue’.
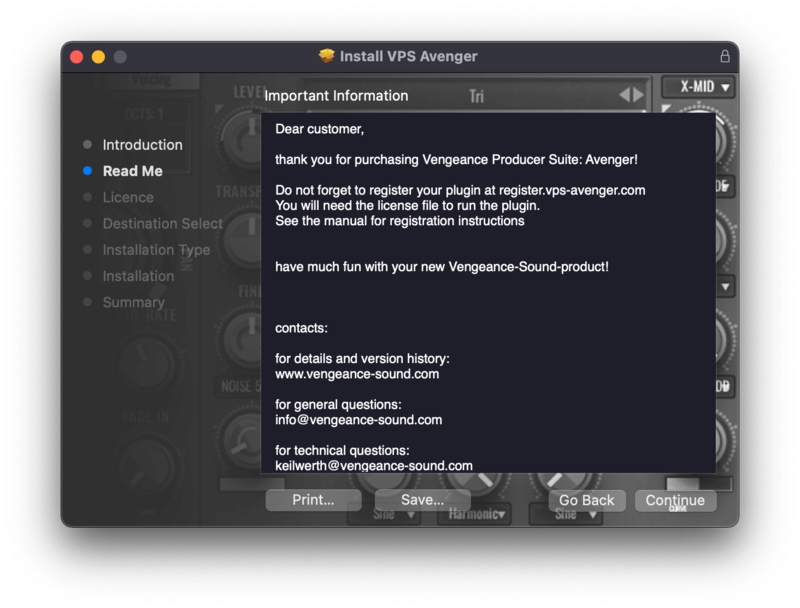
7. Click ‘Continue’.
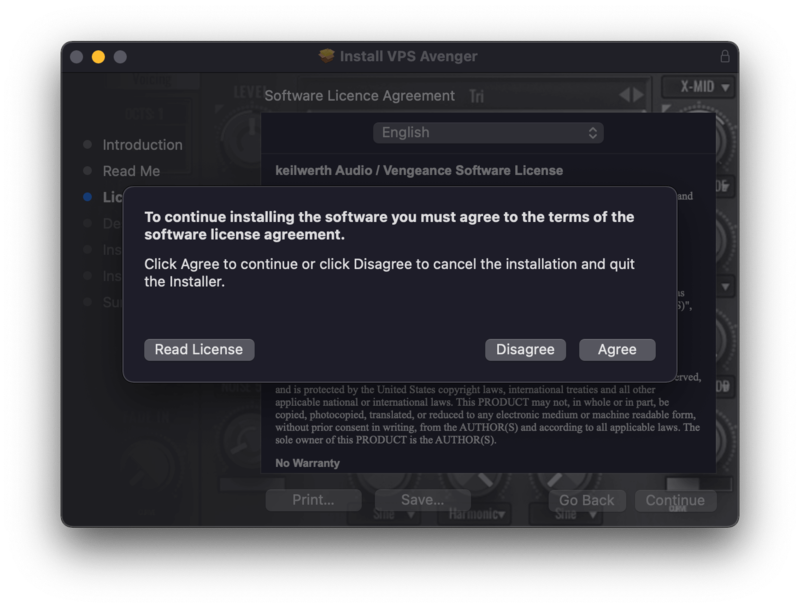
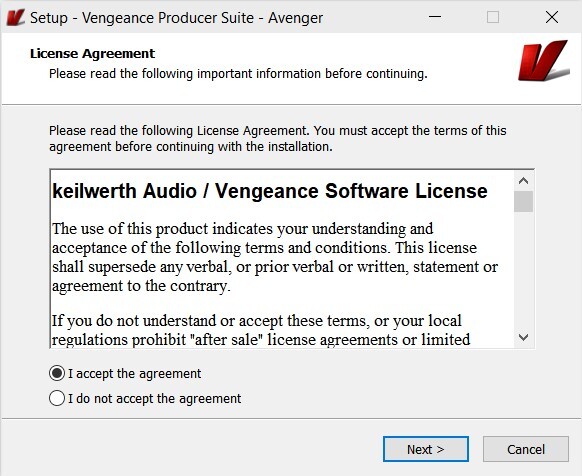
8. Read the Software License Agreement > Click ‘Continue’.
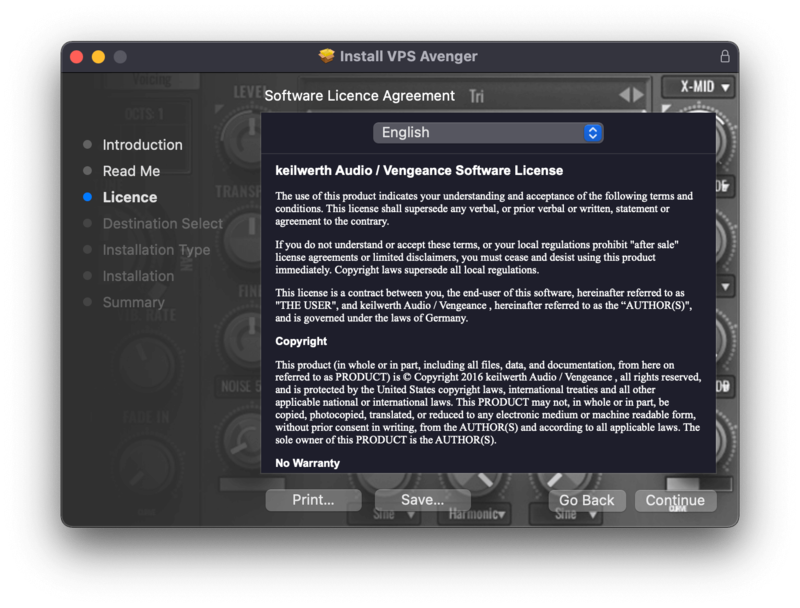
9. Click ‘Agree’.
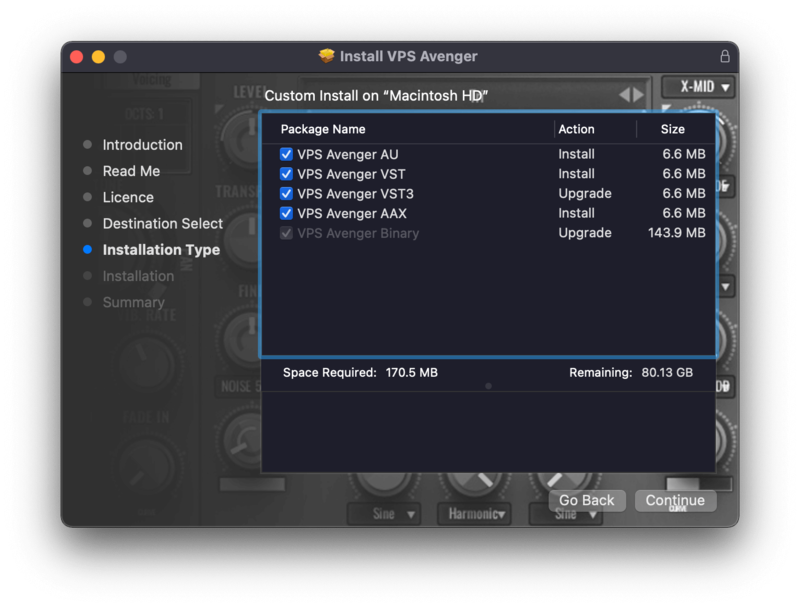
10. Choose which formats you would like to install (if you're not sure, check out our Help Centre guide about plugin formats) > Click ‘Continue’.
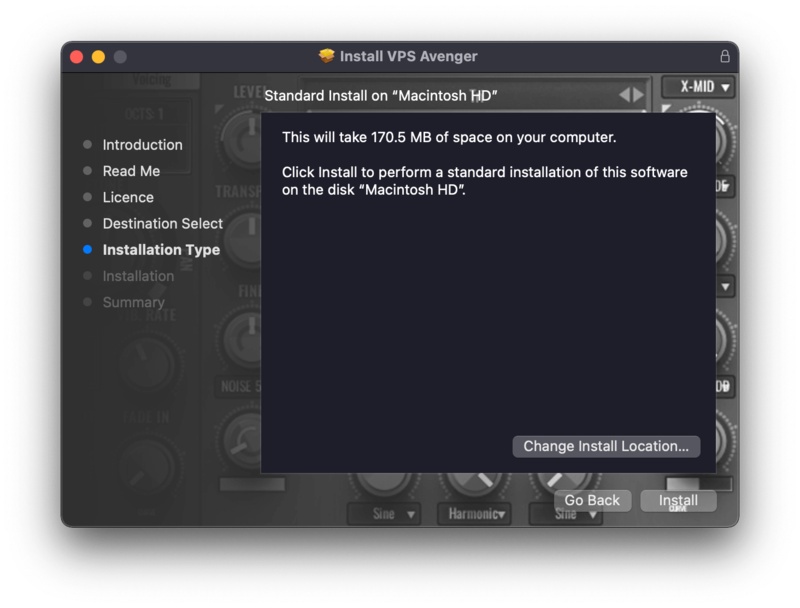
11. Click ‘Install’.
12. Click 'Close'.

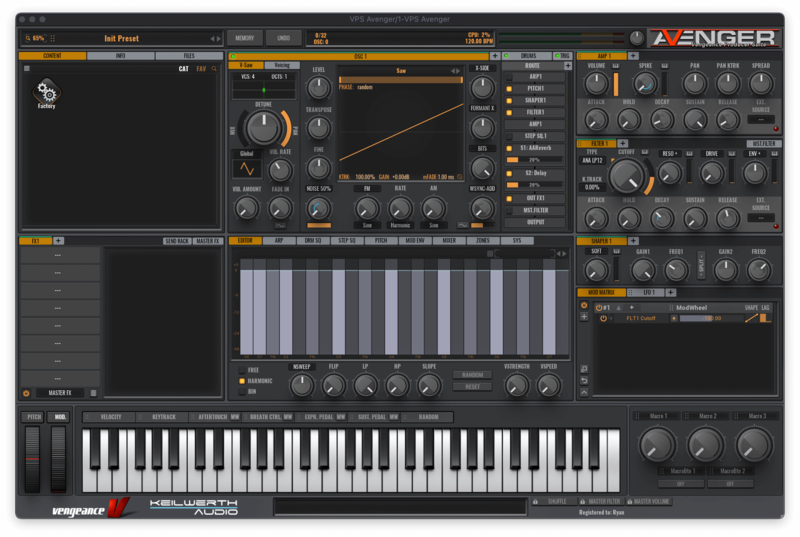
Your software is now activated and ready to use in your DAW!
Windows Installation
1. Go back to https://register.vps-avenger.com/details > Download the V-Manager installer.
2. Once the V-Manager installer has downloaded, run the V-Manager.exe file > Enter your email and password > Click 'Login'.
3. Click 'Download Factory Content' and any other downloads you may have in your account (this may take a while as the factory content is a large file).

4. Whilst the Factory Content is downloading, click 'Download Keyfile' to activate the software on your system > Click 'OK'.
5. Click 'Download Installer' to download the latest VPS Avenger software.
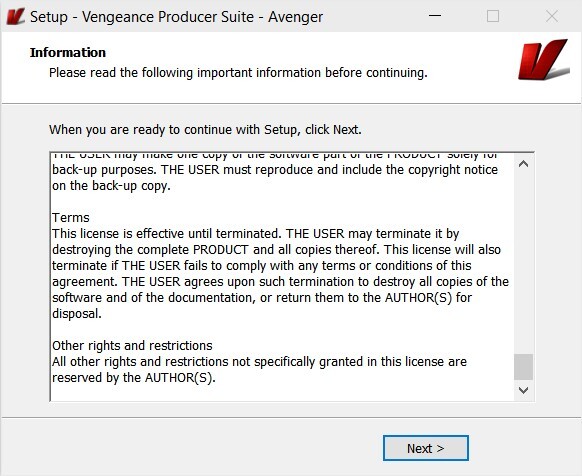
6. Once the download has completed, run the .exe file > Read the licensing agreement > Click 'Next >'.
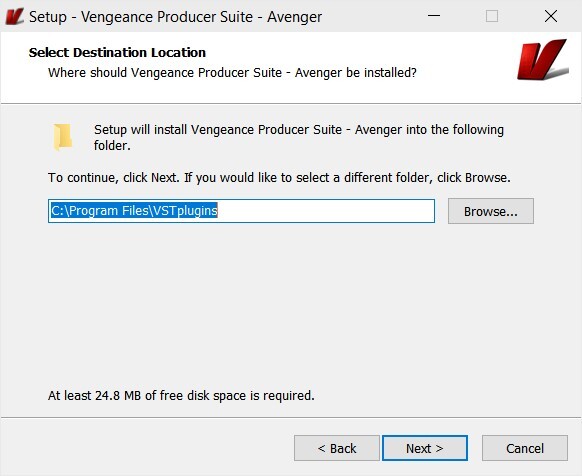
7. Choose the installation location (we recommend leaving this as the default unless you have a customer folder) > Click 'Next >'.
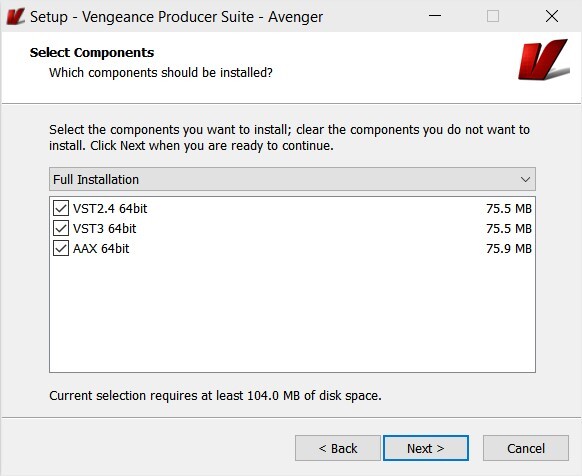
8. Choose which plugin formats you would like to install (AAX for Pro Tools, VST for other DAWs) > Click 'Next >'.
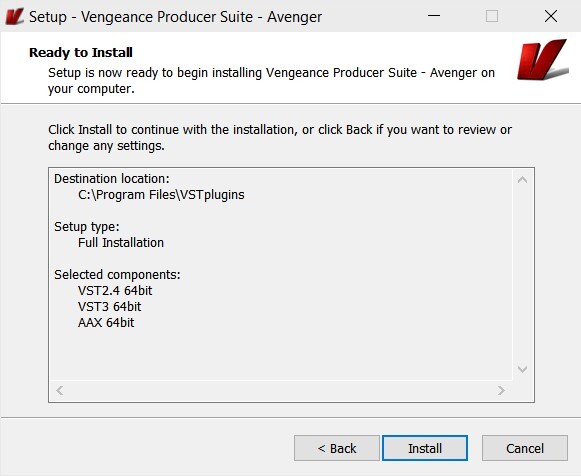
9. Click 'Install'.
10. Click 'Next >'.
11. Click 'Finish' to restart your computer and complete the installation.
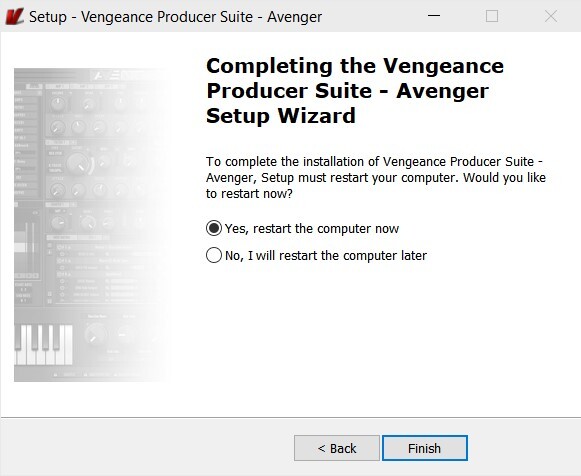
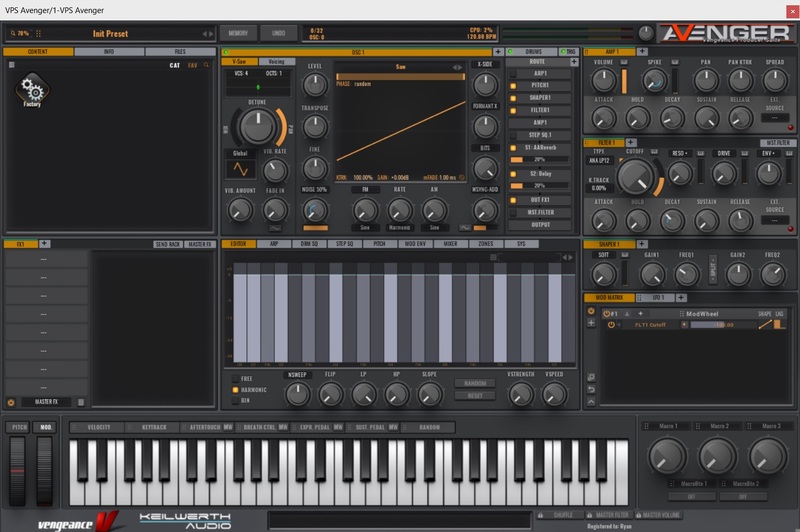
Your software is now activated and ready to use in your DAW!
It’s important to note that you will need to be connected to the internet once every few days, so that Plugin Boutique can authorise your plugin - without doing this, your plugins will not run correctly.
If you have any further questions about your Rent to Own plan, please contact our Customer Care team here and we'll be more than happy to help.