
Welcome to the Vengeance Sound installation page.
Please take a look at our installation guide videos below, which provide information on how to register, install and authorise your Vengeance Sound software.
System Requirements
Mac
- macOS 10.9 and later (Intel / M1 Apple Silicon supported) (64-bit only)
- Intel 1.5 GHz or Apple Silicon
- 2 GB RAM
- VST2, VST3, AU and AAX compliant host required (64-bit only)
Windows
- Windows Vista or higher (64-bit only)
- OpenGL 3.2-capable GPU
- 2 GB RAM
- VST2, VST3 and AAX compliant host required (64-bit only)
Important note: This product licence needs to be refreshed every 90 days and can be done within the Vengeance Sound V-Manager, or by using an offline key file that can be downloaded from your Vengeance Sound User Account.
Mac Video Installation Guide
Windows Video Installation Guide
Installation Instructions
Please Note: VPS Avenger is used as an example.
Registration
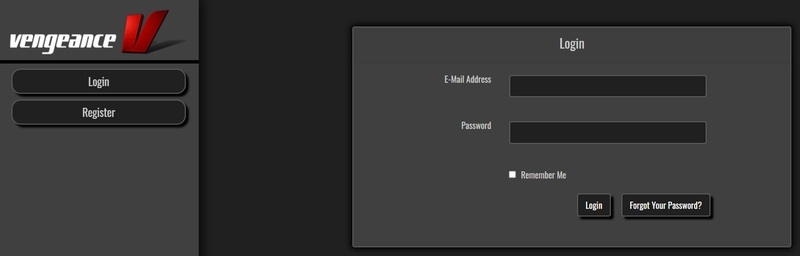
1. Click DOWNLOAD in your Plugin Boutique account or go to https://register.vps-avenger.com/login > Click Register (or login to your account and skip to step 3).
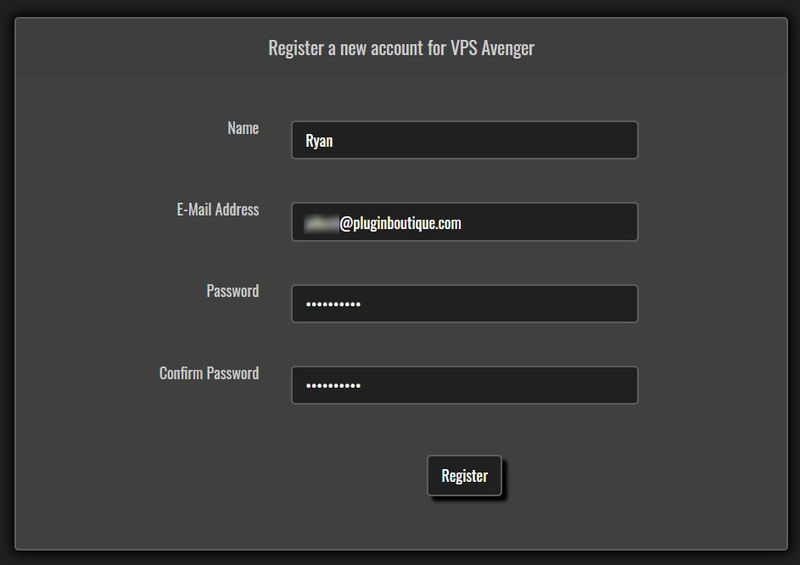
2. Enter your details and click 'Register' to create an account.
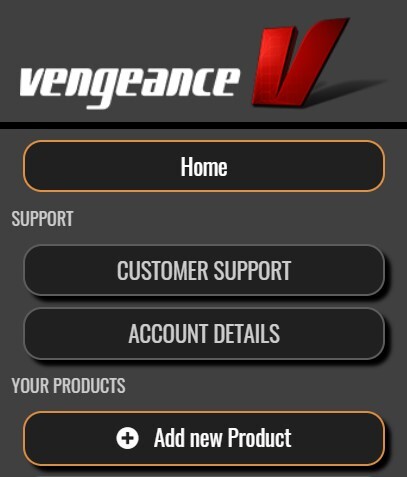
3. You have now created a Vengeance Sounds account > Click '+ Add New Product' on the left side of the page.
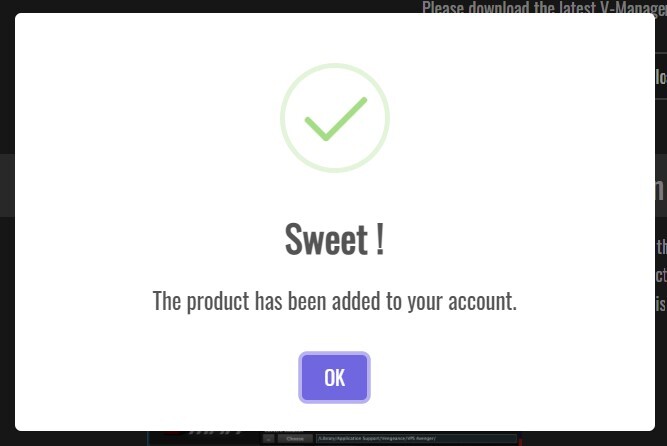
4. Copy and paste the serial number from your Plugin Boutique account > Click 'Look up'.
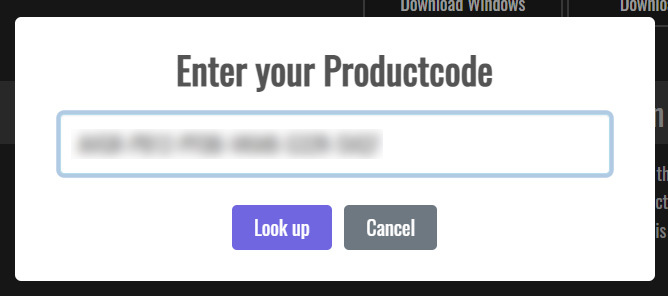
5. Your license has now been added to your Vengeance Sounds account > Click 'OK'.
Mac Installation
1. Go back to https://register.vps-avenger.com/details > Download the V-Manager installer.

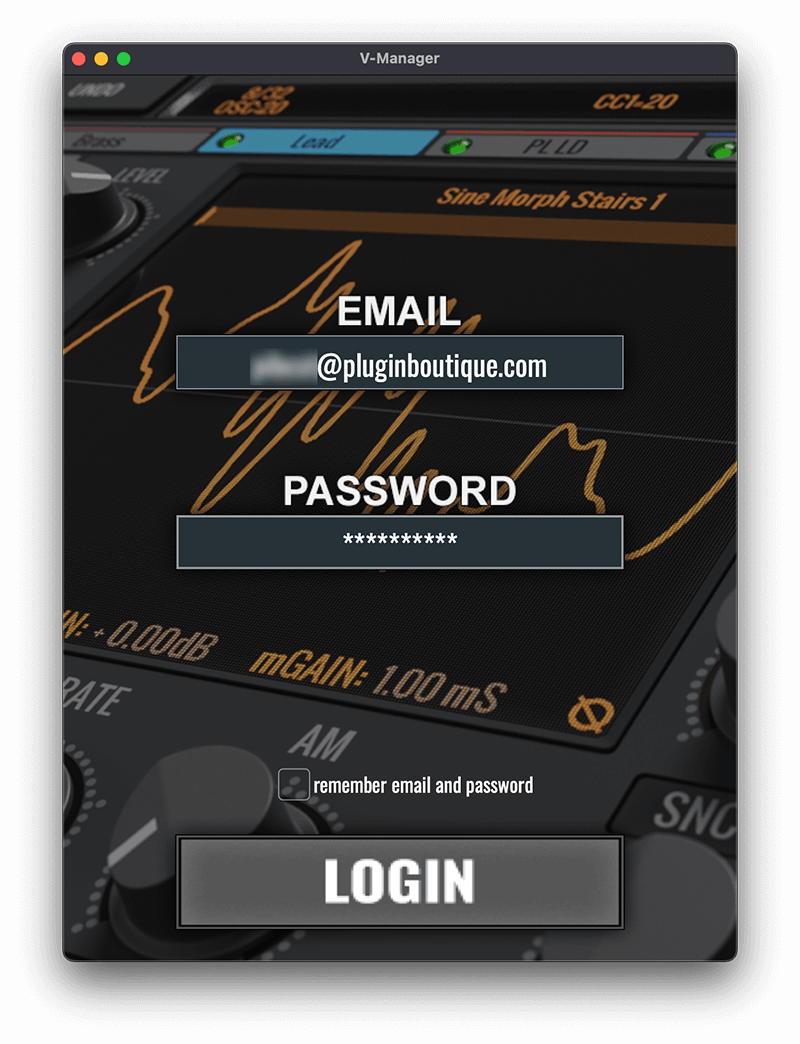
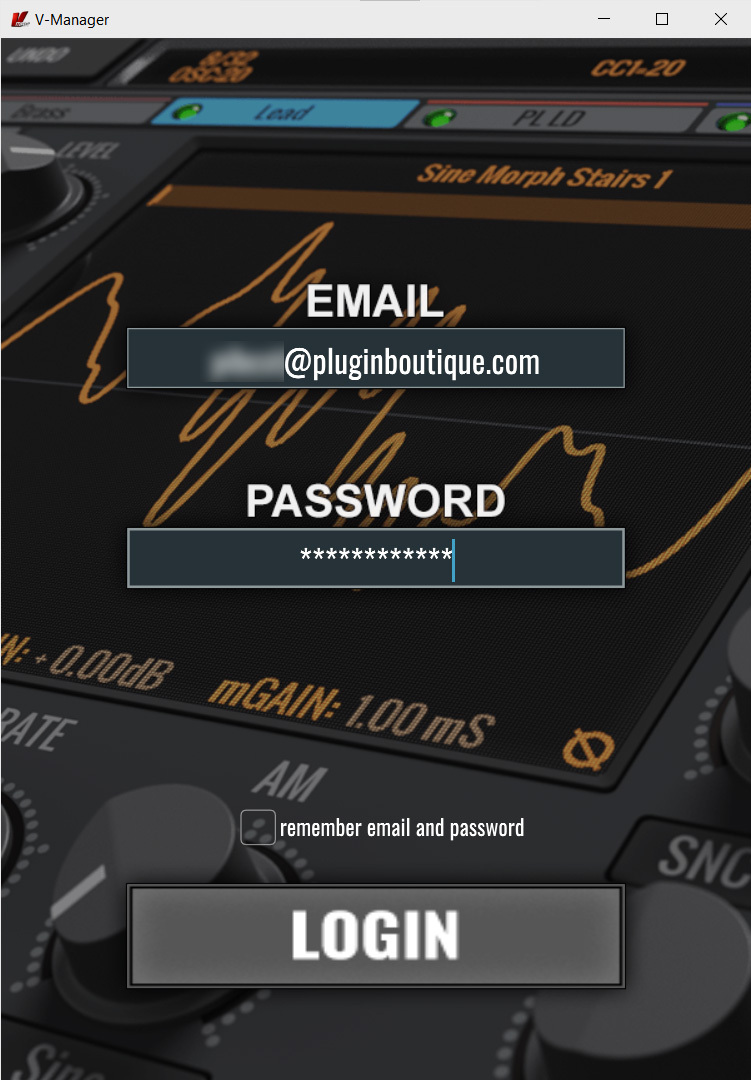
2. Open the V-Manager installer once it has downloaded > Enter your email and password > Click 'Login'.
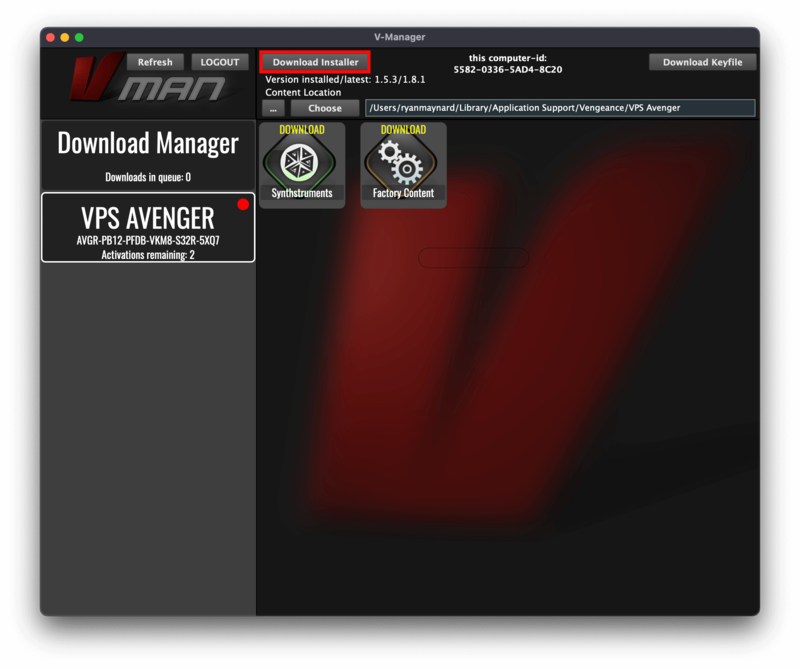
3. Click 'Download Factory Content' (this may take a while to download as it’s a large file).
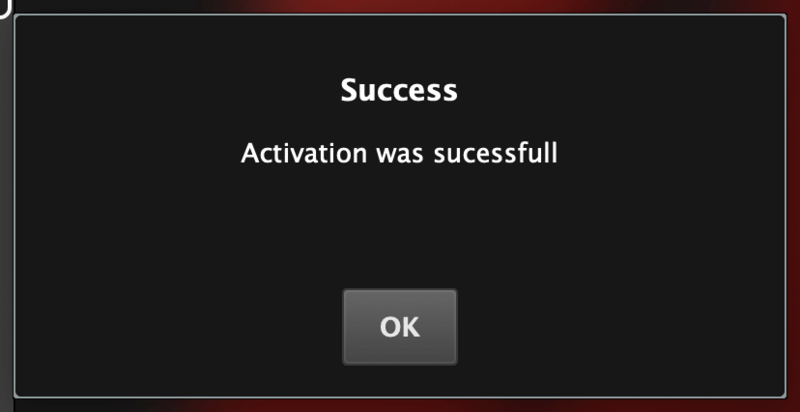
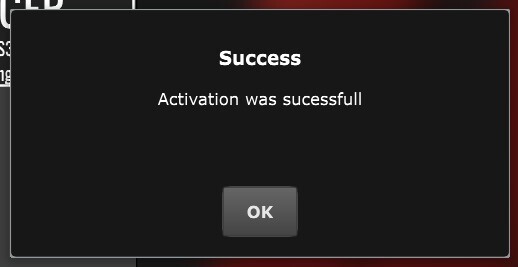
4. Whilst the Factory Content is downloading, click ‘Download Keyfile’ > VPS Avenger is now activated.
5. Once the Factory Content has been downloaded, click ‘Download Installer’ at the top of the window.
6. Click ‘Yes’ to run the installer now > Click ‘Continue’.
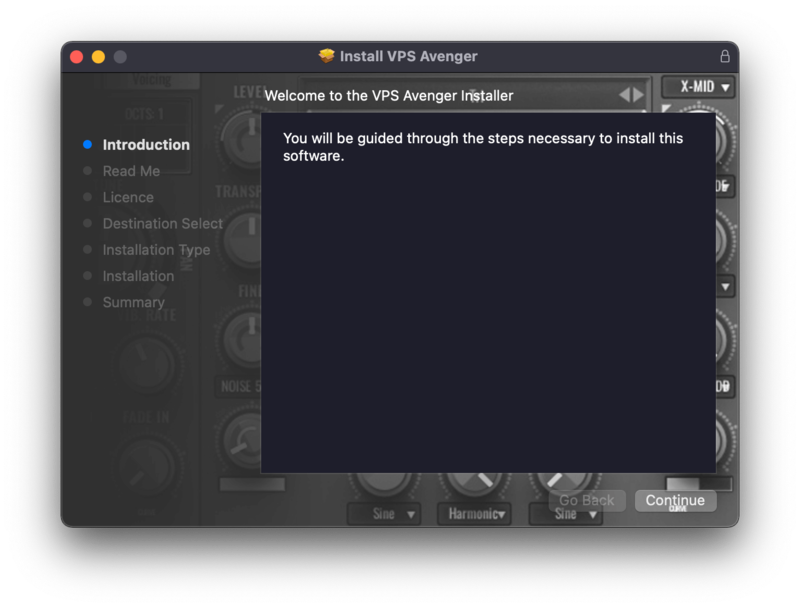
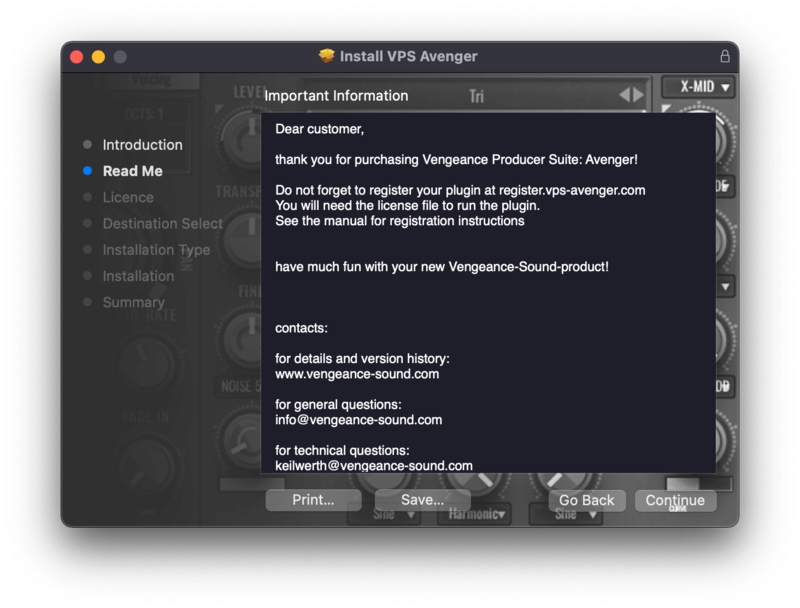
7. Click ‘Continue’.
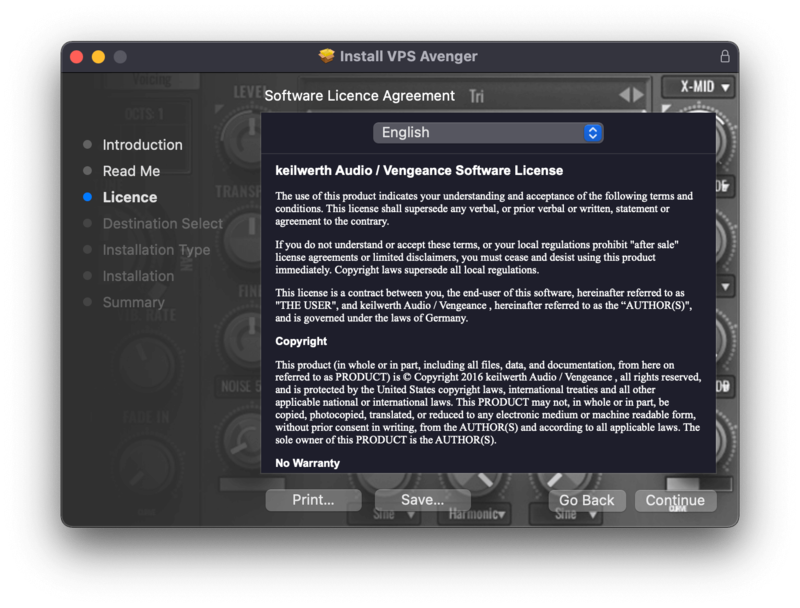
8. Read the Software License Agreement > Click ‘Continue’.
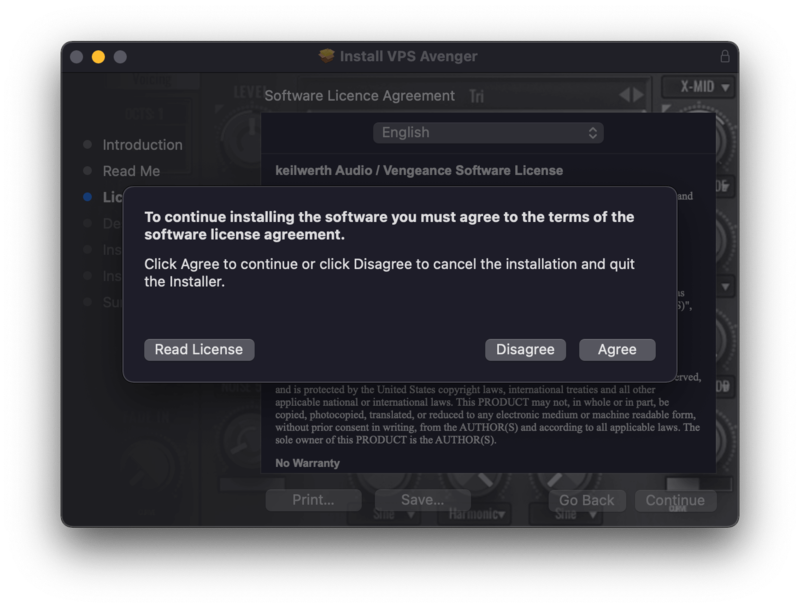
9. Click ‘Agree’.
10. Choose which formats you would like to install (if you're not sure, check out our Help Centre guide about plugin formats) > Click ‘Continue’.
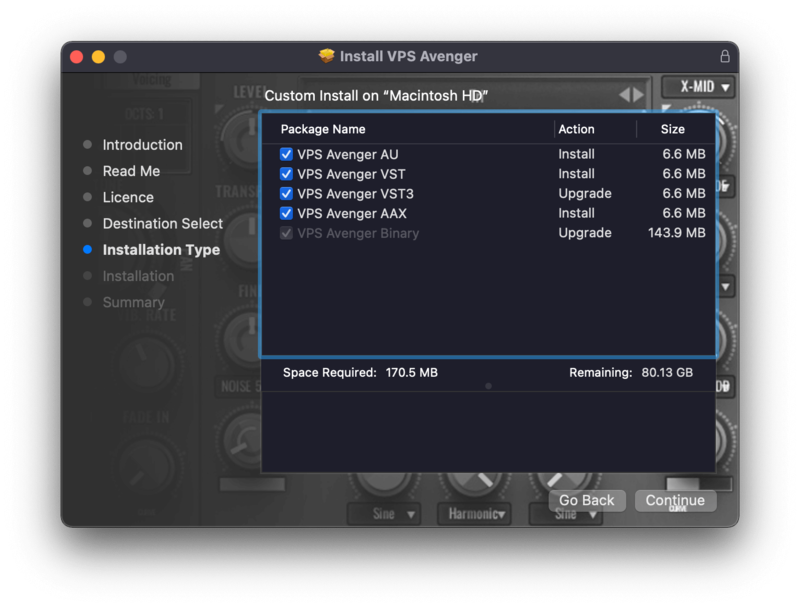
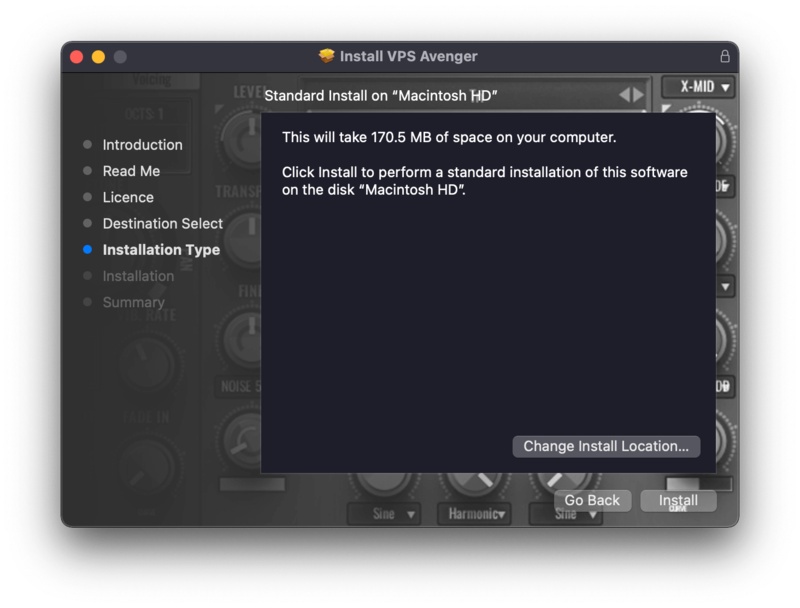
11. Click ‘Install’.
12. Click 'Close'.

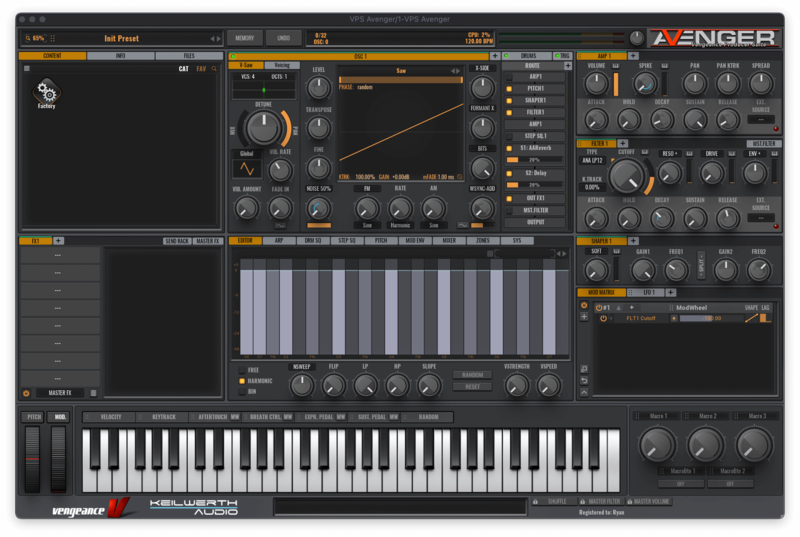
Your software is now activated and ready to use in your DAW!
Windows Installation
1. Go back to https://register.vps-avenger.com/details > Download the V-Manager installer.
2. Once the V-Manager installer has downloaded, run the V-Manager.exe file > Enter your email and password > Click 'Login'.
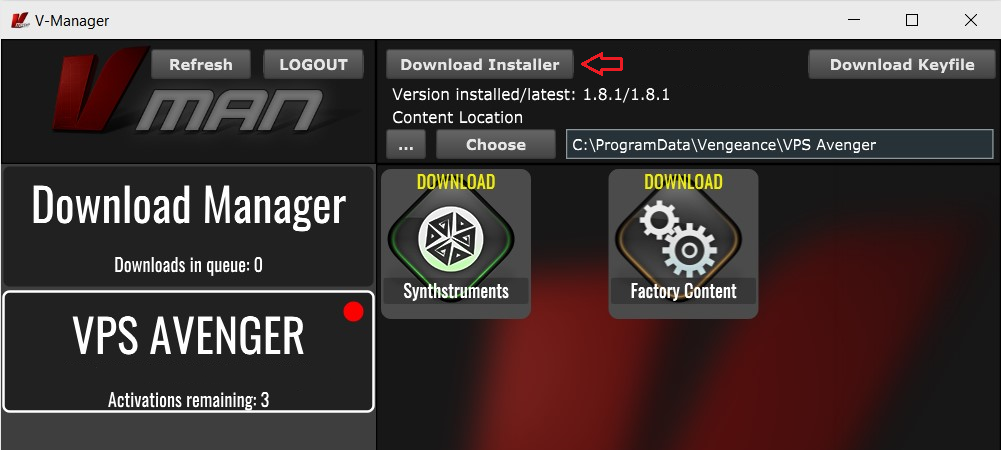
3. Click 'Download Factory Content' and any other downloads you may have in your account (this may take a while as the factory content is a large file).

4. Whilst the Factory Content is downloading, click 'Download Keyfile' to activate the software on your system > Click 'OK'.
5. Click 'Download Installer' to download the latest VPS Avenger software.
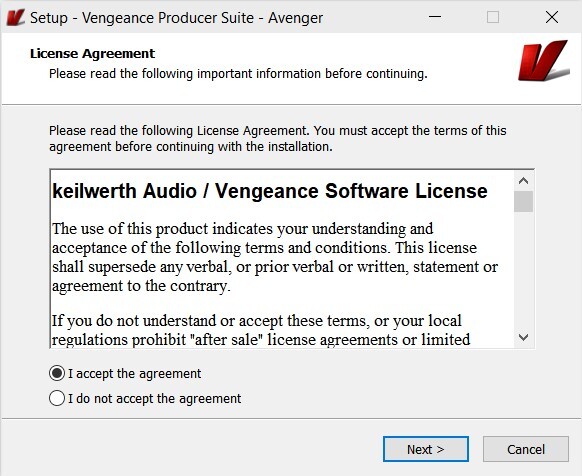
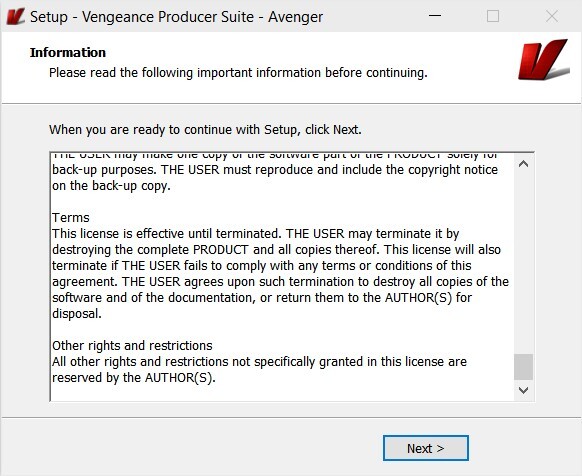
6. Once the download has completed, run the .exe file > Read the licensing agreement > Click 'Next >'.
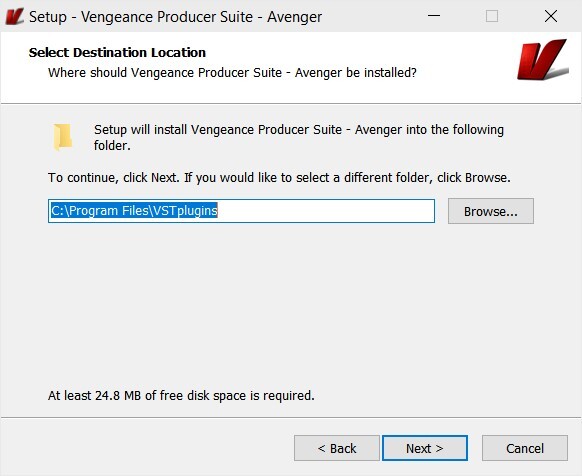
7. Choose the installation location (we recommend leaving this as the default unless you have a customer folder) > Click 'Next >'.
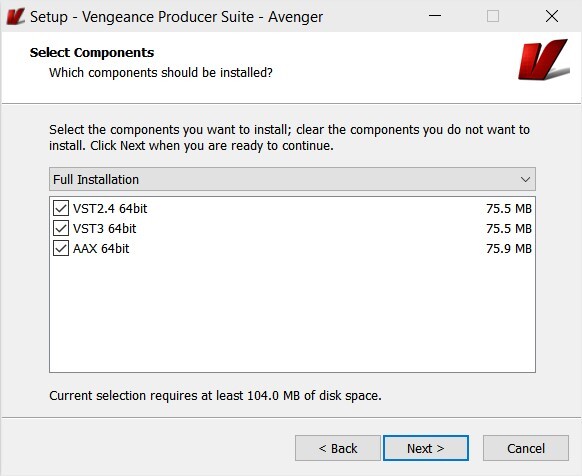
8. Choose which plugin formats you would like to install (AAX for Pro Tools, VST for other DAWs) > Click 'Next >'.
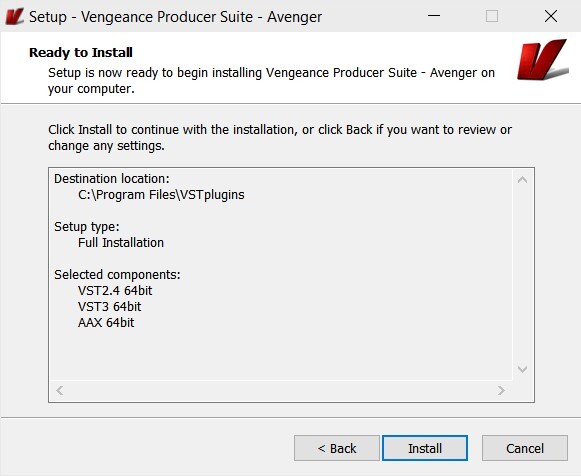
9. Click 'Install'.
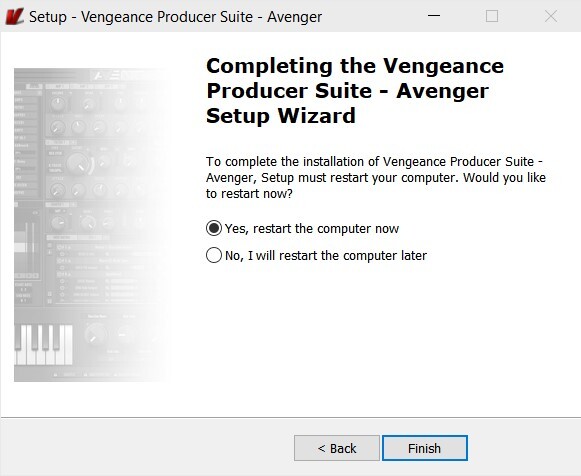
10. Click 'Next >'.
11. Click 'Finish' to restart your computer and complete the installation.
Your software is now activated and ready to use in your DAW!
If you would like any further assistance with your software, please feel free to reach out to our support team at support@pluginboutique.com.